Faceless Explainer Videos for YouTube With AI
Make a narrated, captioned 16:9 explainer for a faceless YouTube channel from one topic line. Here's the full workflow, costs, and limits.
You want a YouTube channel that teaches, explains, or breaks things down — but you don’t want to be on camera. Good news: a clear voice, clean captions, and the right visuals carry an explainer just fine. This guide walks you from a single topic line to a finished, uploadable 16:9 video, with no face and no filming.
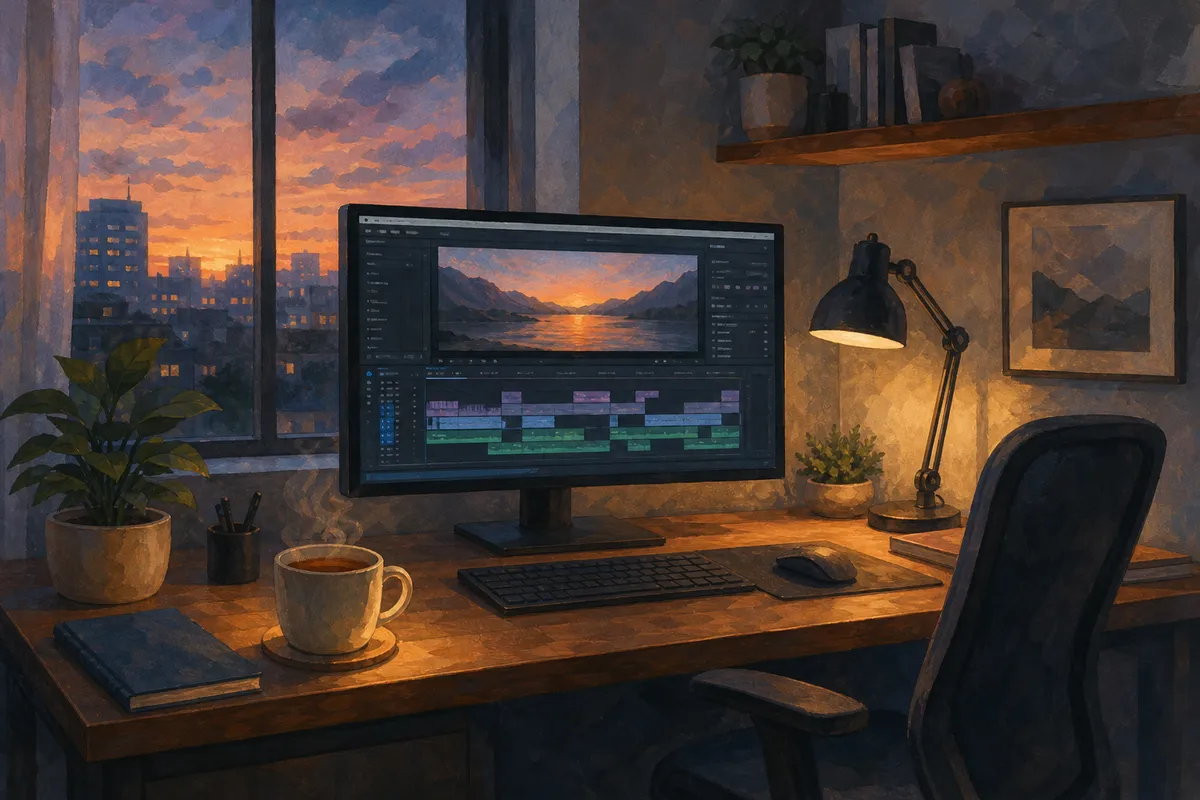
Faceless explainer channels work because viewers come for the information, not for you. A steady narrator, words on screen that match the audio, and simple supporting imagery are enough to hold attention. With Artistik, you can describe what you want to explain in a sentence or two and get back a narrated, captioned widescreen video plus the script — ready to review, tweak, and post.
Why faceless explainers actually work on YouTube
Plenty of popular educational content on YouTube never shows a human. Think about the channels you’ve watched that break down history, finance, science, or how a company got started. Often it’s a calm voice over clean visuals and clear captions. That’s the whole format, and it travels well because it’s built on clarity, not personality.
Going faceless has real advantages. You can publish consistently without hair, lighting, or a camera-ready day. You can cover topics outside your own appearance or accent without worrying about being “on brand” physically. And you can batch your work: write five scripts on a Sunday, generate five videos, and schedule them across the month.
The trade-off is that your content has to earn attention on substance. A faceless video with a thin script and random stock footage gets ignored. A faceless video with a sharp hook, a logical structure, and visuals that reinforce each point does the job. The tool handles production; you bring the thinking.
What an AI explainer gives you, start to finish
The Explainer format produces a narrated, captioned 16:9 video at 1920x1080 — the standard YouTube landscape size — along with the written script. That means you get both the thing you upload and the text you can repurpose for a description, a blog post, or a newsletter.
Here’s what’s inside a finished piece:
- A written script structured around your chosen angle, so the narration has a beginning, middle, and end.
- Voiceover reading that script in a natural voice.
- Word-timed captions, so the text on screen matches the audio as it’s spoken. This matters for watch time, because a lot of people watch with sound off at first.
- Supporting visuals for each section.
- Optional music under the narration if you want a little atmosphere.
You pick an angle depending on what you’re making: explainer for a straight breakdown, story for a narrative arc, listicle for a ranked or numbered piece, tutorial for step-by-step instruction, or deep dive for a longer, more thorough treatment. And you can produce it in 13 languages for the script, voice, and captions, which is handy if you’re building a channel for a non-English audience or localizing a hit video.
Stills mode versus motion mode
There are two ways the visuals come together. Stills mode builds the video from generated images and works with the free starter credit, which is the cheapest and fastest way to get a watchable explainer. Motion mode produces animated clips instead of static images and uses purchased credit. For a faceless teaching channel, stills mode is often all you need — clean imagery with good captions and a confident voice reads as professional. Reach for motion when movement genuinely helps the point.
One honest limit to plan around

Here’s the most important thing to understand before you start: the Explainer does not invent facts. You give it the points to cover, and it writes and narrates around those points. This is a feature, not a flaw. A tool that confidently made up dates, figures, and “studies” would wreck a channel’s credibility the first time a commenter caught it.
So your real job is research. Before you generate anything, gather the specific claims, numbers, names, and sequence you want the video to make. If you’re explaining how a battery works, write down the actual stages. If you’re covering a company’s rise, list the real milestones. Hand those to the tool and let it shape them into a flowing, narrated script. You stay the fact-checker; the tool is the producer.
This also makes your videos better. The faceless channels that fail tend to be vague and padded. The ones that grow are specific. Doing even fifteen minutes of real homework on each topic puts you ahead of most of the feed.
From topic to upload: the step-by-step
Here’s a workflow you can repeat every time.
1. Pick a topic and an angle. Decide what single thing this video explains, and choose the angle that fits. A “why does X happen” video suits the explainer angle. A “top 7” video suits listicle. A “how to do X” video suits tutorial.
2. Write your points. In plain bullets, list everything true and specific you want covered, in the order that makes sense. This is the part you don’t delegate.
3. Choose length and voice. A tight explainer in the three-to-six-minute range tends to hold attention well for teaching content. You can always make a deep dive longer when the topic earns it. If you’re not sure how your word count maps to runtime, the free tools include a video script length calculator that turns words into seconds.
4. Write the brief. One or two clear sentences plus your points. Here’s an example you could adapt:
Make an explainer-angle video titled “Why Your Coffee Tastes Different Every Morning.” Cover these points in order: grind size changes extraction; water temperature affects bitterness; beans lose aroma in the weeks after roasting; the same scoop weighs different amounts by volume; water mineral content changes flavor. Friendly, curious tone. Stills mode. English. Optional light background music.
5. Generate and review. Watch the preview end to end. Check the facts against your notes. Read the captions for timing and typos. Listen for any spot where the narration rushes or drags.
6. Keep the piece and download. Once you’re happy, unlock it so you own the finished 16:9 MP4 and the script, with no watermark.
7. Upload to YouTube. Add a strong title and thumbnail, paste a description built from the script, and tag it. The tool makes the video; the uploading, titling, and thumbnail are yours.
A quick note on thumbnails and titles
The video is only half the battle. A faceless channel lives or dies on its title and thumbnail, because that’s what earns the click before anyone hears a word. Write the title around the curiosity gap or the clear benefit, and make the thumbnail readable at a small size. The script Artistik hands you is a good source of title ideas — the strongest line in your opening is often your best title.
What a faceless explainer costs

An Explainer runs about $0.25–$0.70 for a finished piece, which makes a weekly faceless channel very affordable to run. Here’s how it compares to a few related formats you might reach for as the channel grows.
| Format | Typical cost per finished piece | Good for |
|---|---|---|
| Explainer | about $0.25–$0.70 | Narrated, captioned 16:9 teaching videos |
| Short-form video | about $0.15–$1 | 9:16 clips to promote episodes on Shorts, Reels, TikTok |
| Carousel | about $0.01–$0.10 | Slide posts repurposing a video’s points |
| Podcast | about $0.50–$2.50 | A scripted audio companion with 1-3 hosts |
Paying is simple. Your first piece is on us, with up to $1 of free credit, so you can try the whole flow before spending anything — previews are watermarked. After that, keep any single piece for a one-off $4.99, or add credit from $5 (bigger packs add a bonus). If you’re publishing regularly, a monthly plan from $9 includes that dollar amount of making every month and removes watermarks. See the details on the pricing page.
Stills-mode explainers need no purchased credit, and each finished piece is inexpensive. Motion video uses purchased credit, and a one-time pack covers that — no subscription required.
Turning one explainer into a week of content
The smartest faceless creators don’t make one asset per idea; they make a cluster. Once you’ve researched a topic well, you’ve already done the hard part, so spread that work across formats.
- Cut the explainer’s hook into a short-form video to drive traffic from Shorts or Reels back to the full video.
- Turn the main points into a carousel for LinkedIn or Instagram — at about a penny to a dime per piece, it’s nearly free.
- If the subject suits conversation, make the same material into a podcast episode with one to three hosts.
One afternoon of research can feed a video, a short, a carousel, and an audio episode. That’s how small faceless channels punch above their size: not by working harder, but by reusing the thinking.
When you want the channel to run on its own
If you’d rather commit to a recurring show than make each piece by hand, look at Autopilot. You choose a topic and a voice, and it brainstorms, researches, fact-checks, writes, voices, and mixes episodes on a schedule, as audio or video, in 11 languages, up to four times a week. Each show gets its own RSS feed to submit to Apple Podcasts and Spotify, and it can upload to a connected YouTube channel. You can review each episode or let it run. Autopilot is the recurring-show route; the Explainer format is for making videos one at a time when you want full control over each one.
Common mistakes that sink faceless channels
Vague scripts. If your points could apply to any video on the topic, they’re too thin. Specificity is what makes a stranger finish the video and subscribe.
Mismatched visuals. Stills should reinforce the point being made, not just fill space. When you review, notice any moment where the image works against the narration, then adjust the brief and run it again.
No hook. The first ten seconds decide whether anyone stays. Front-load the most interesting thing. The explainer angle lets you open with a question or a surprising fact instead of a slow windup.
Skipping the fact-check. Remember, the tool builds on what you give it. If your points are wrong, the polished narration will deliver wrong information very convincingly. Verify before you publish.
Treating captions as decoration. Word-timed captions genuinely help because so many people start watching muted. Read them during review and fix anything awkward.
Frequently asked questions
Does the Explainer show a presenter or a face? No — it’s a narrated, captioned 16:9 video with voiceover and supporting visuals, which is exactly what a faceless channel needs. If you ever do want a person on screen, that’s a different format: the Presenter delivers your script as a generated on-camera presenter.
Will the tool write the facts for me? No. The Explainer does not invent facts — you give it the points to cover, and it shapes them into a narrated script. Do your research first, hand it the specifics, and check the finished video against your notes.
What do I actually own when I’m done? Whatever you unlock is yours: royalty-free, commercial use allowed, no attribution, and no revenue share. You download the finished 16:9 MP4 and the script to upload and use as you like.
Can I make the same video in another language? Yes. The Explainer supports 13 languages for the script, voice, and captions, so you can localize a video that performed well or build a channel aimed at a non-English audience.
Does Artistik upload to YouTube for me? The Explainer format makes the video; uploading, titling, and thumbnails are up to you. If you want a show that uploads itself to a connected YouTube channel on a schedule, that’s what Autopilot is for.
Start your faceless channel today
You don’t need a camera, a studio, or a confident on-screen presence to teach something well on YouTube — you need a clear idea, honest research, and a clean, narrated video to carry it. Bring the first two, and let Artistik handle the production. Write your topic in a sentence, add your points, and make your first Explainer — your first piece is on us.